
Log In to Wireless-N Repeater by Assigned 192.168.254.254
Wireless-N repeaters are one of those techs that provide people reliable internet services in every corner of the house. Wireless-N WiFi repeater setup is very simple and important process to use the repeater’s full potential. Login process is just a straight forward step of the installation. Here, we will explain you how you can access the WiFi extender interface through login URL myrepeater.net or assigned IP address 192.168.254.254. By that, you can configure the settings and networks of the Wireless-N repeater. We will also share some troubleshooting tips, so that you can run internet services easily in future.
Accessing WiFi Repeater via 192.168.254.254
Usually, people log in to the WiFi extender with the login URL myrepeater.net but you can access the web interface of through assigned IP address 192.168.254.254 to the repeater.
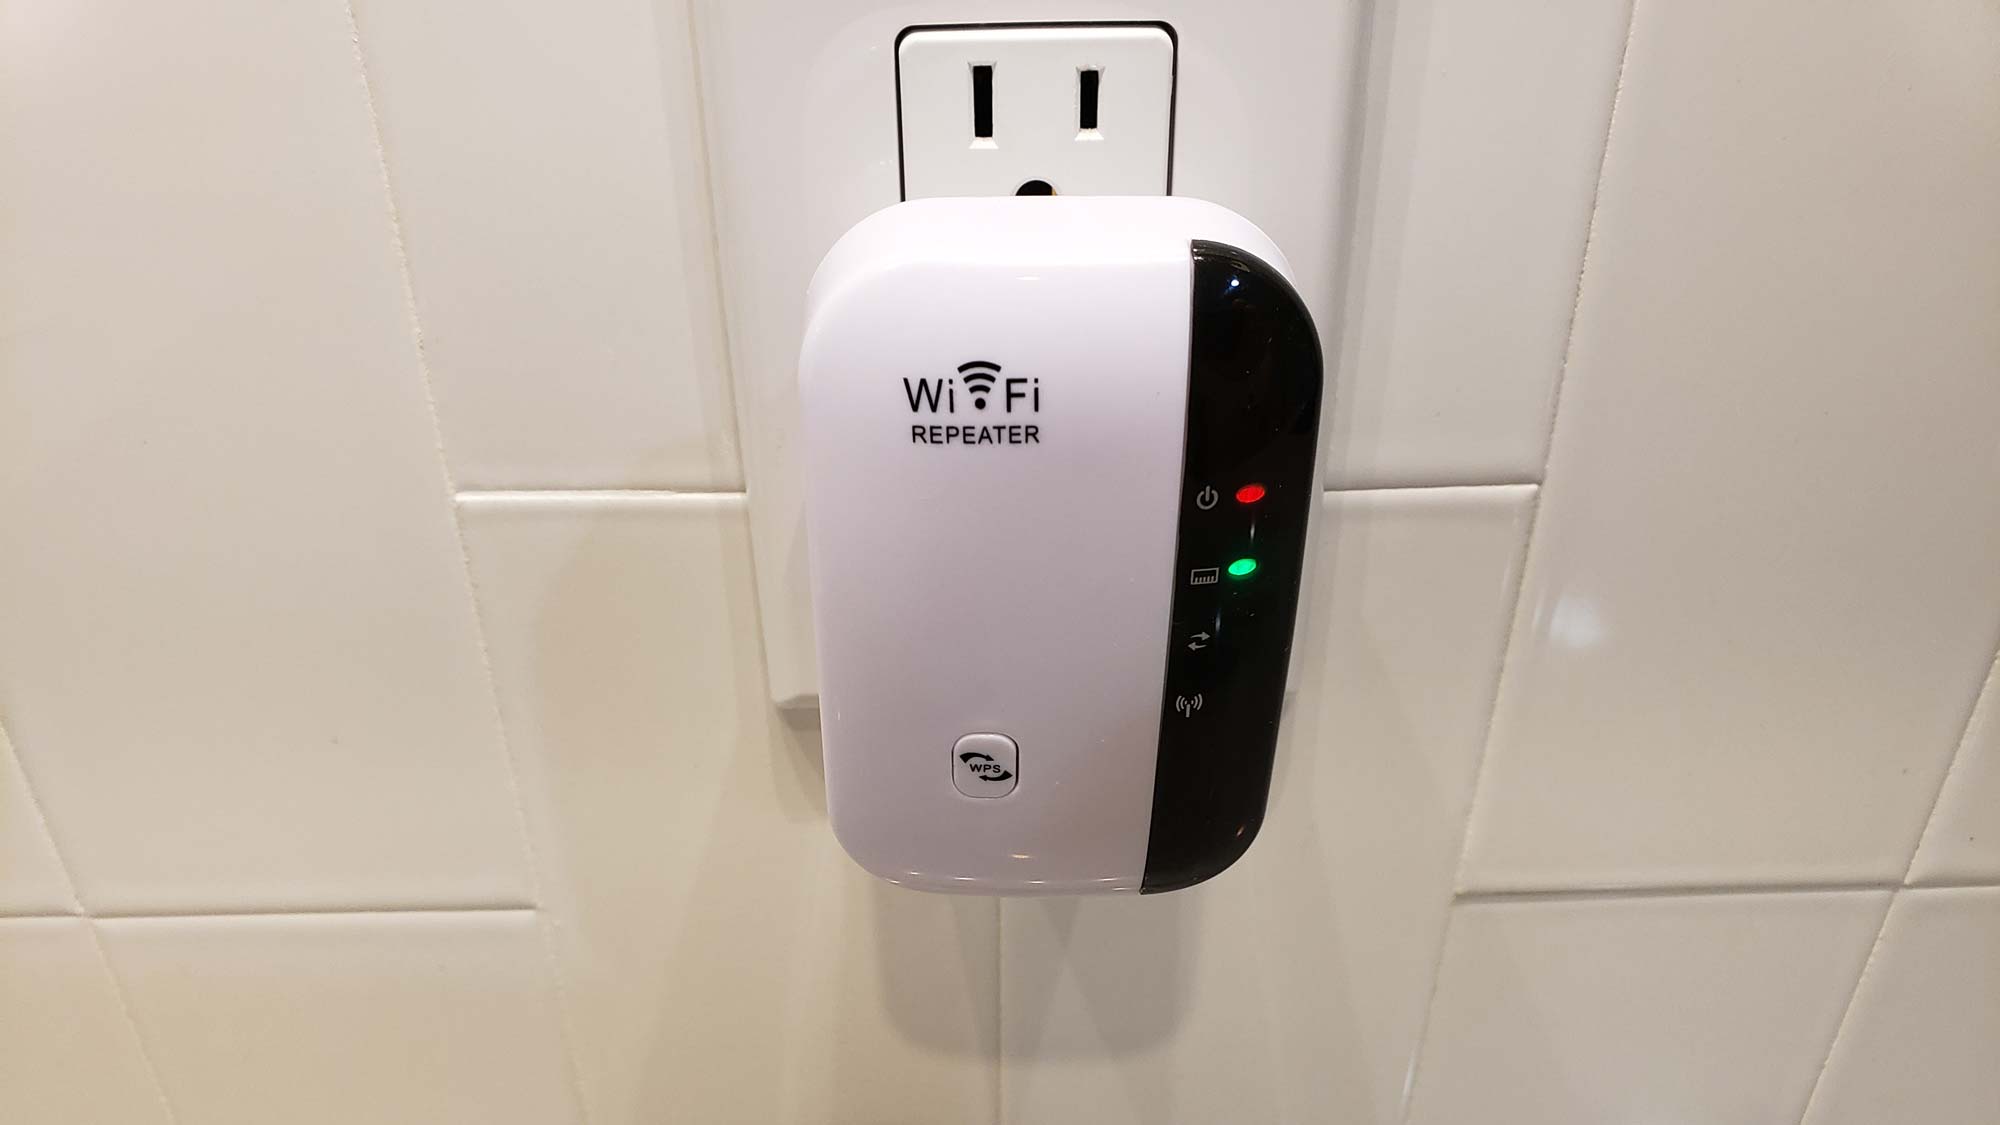
1. Turn On WiFi Repeater
Supply power to your Wireless-N repeater by plugging it into a wall socket (make sure it is connected to the router). Then press the power button (given on the front of extender) to start up your WiFi extender.
2. Link Your Computer
After turning it on, you have to connect a laptop or computer to the WiFi repeater’s network, which you can do using the Ethernet cable. But if you are using a laptop then you can also connect it wirelessly through WiFi. You just have to open up the WiFi settings in your laptop and enter the Wireless-N repeater network SSID name and password, then click on Connect button to connect.
3. Reach Login Page
Now, just open up the internet browser and locate the address bar. Then to reach the login page just type IP address 192.168.254.254 or login URL myrepeater.net and search it. You will reach a login page, where you must enter the user details such as username and password. Basically, users fill the details using the default user manual, but you can use the admin as the username and just left the password blank empty and then click Next.
4. Enter the Interface
After clicking the Next button, you will reach inside the interface, where you can manage the settings, network, update the repeater by upgrading the firmware, and assign a new password. It is a must do process, that you assign a password for security reasons. Let’s see how to assign a new password for the user admin.
Add New Password
To add a new password, you just have to find and click on the Advanced Settings. Then you will see Admin named option just select it. On user admin page, double click on the password blank and type your new password. Then press the Enter key to save the user details.
In future, you also will need to update your extender to run on its best performance. Let’s take a look at a small paragraph that gives you information about how to upgrade your firmware.
Update Firmware
To upgrade repeater, you have to go in to the Advanced settings again and then select About option. Here just click on the Firmware and select the Search button. Now, it will start searching the latest version of the firmware, if it is available then download it. Update it by clicking on the Update button. Then the Wireless-N repeater will start rebooting.
So, this is the process of accessing the interface of the WiFi repeater. Now, let’s have a look on some troubleshooting tips that you can use in future to make your internet service reliable and fast.
Troubleshooting Tips
- Always make sure that you didn’t place any electronic device or heavy metal thing near the repeater.
- Use updated web browser to access the interface.
- Regularly check the conditions of Ethernet cable that you are using to connect extender to router.
- Whenever you find a new version of the firmware, just download it immediately.
Final Thoughts
As you can see, the Wireless-N WiFi repeater setup is pretty simple and straight forward process. You have seen how to log in to the web interface of the WiFi extender which includes linking your computer to the repeater, searching the assigned login IP address 192.168.254.254, and exploring the interface. We hope you had successfully access the extender and managed the settings of it.